









Buyer Pain Points: LED Programming Challenges
Integrators and facility managers face specific challenges when programming LED displays:
What software do I need? Different LED displays use different control systems. You need software that matches your specific controller brand and model.
Why won’t my content display correctly? Content must match the display’s resolution and pixel pitch. Mismatched dimensions result in blurry or cropped images.
How do I connect the controller? Controllers connect via USB, Ethernet, or Wi-Fi. The connection method depends on your controller type and software.
What about content formats? LED displays support various formats — images, videos, text, and live feeds. The software must support the formats you plan to use.
Can I program multiple displays? Yes. Many control systems support multi-screen synchronization, allowing you to program several displays from a single interface.
Step 1: Get the Right Software & Accessories
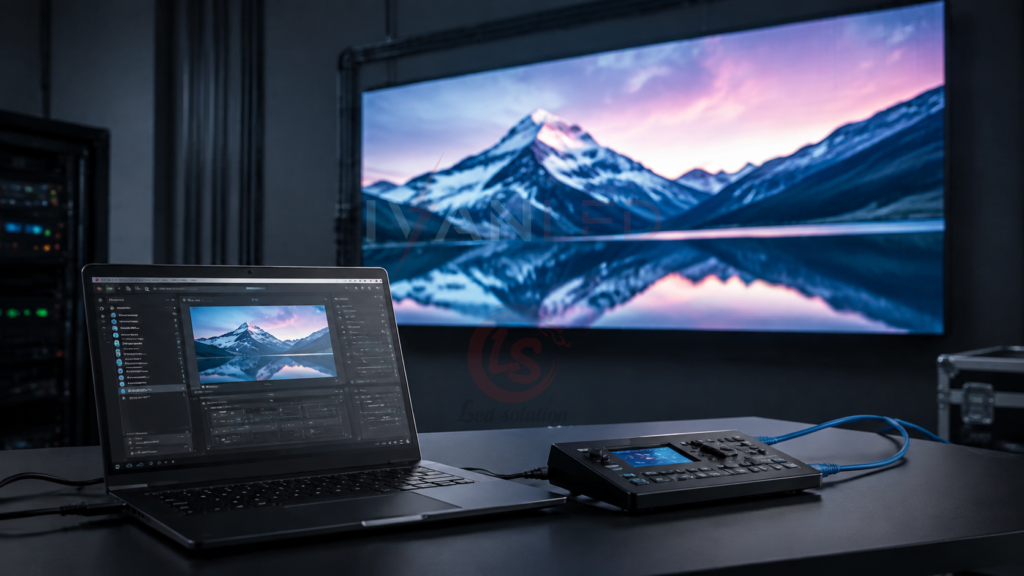
Programming an LED display requires compatible control software, a controller (sending card), and a computer. The software must match your specific controller brand and model.
Common LED control software options:
- Nova LCT: The most widely used software for NovaStar controllers
- Arduino: Open-source platform for DIY and small-scale projects
- Screenly OSE: Digital signage solution for simple content playback
- Yodeck: Cloud-based signage management for remote control
- ScreenCloud: Enterprise-grade digital signage platform
Essential accessories:
- Controller (sending card): Bridges the computer and the LED display
- USB or Ethernet cable: Connects the computer to the controller
- Computer: Windows or Mac with sufficient processing power
- Content files: Images, videos, or text in compatible formats
Step 2: Install Your Software
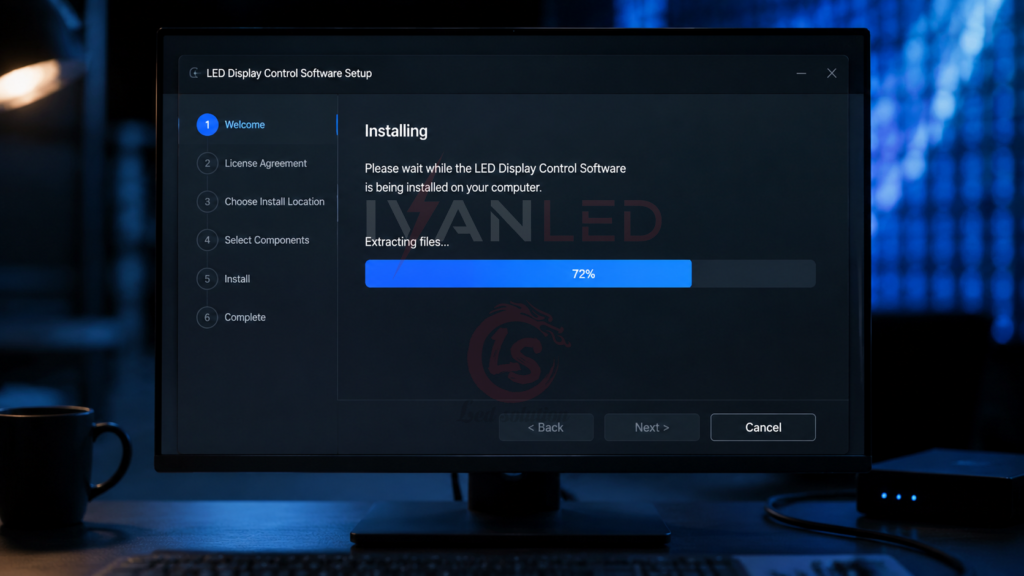
Download the latest version of your control software from the manufacturer’s official website. Verify compatibility with your controller model before installation.
Installation process:
- Download: Visit the manufacturer’s official website and download the latest version
- Verify compatibility: Check that the software supports your controller model
- Run installer: Click the downloaded file and grant administrator permissions if prompted
- Follow prompts: Complete the installation following the on-screen instructions
- Launch software: Open the software to begin configuration
The key takeaway: Only download software from official sources. Unverified downloads may contain malware or be incompatible with your hardware.
Step 3: Set Your Software
After installation, configure the software with your display’s specifications — pixel pitch, dimensions, module type, and network settings.
Key configuration settings:
Display dimensions: Enter the width and height of your display in pixels. The software calculates the screen resolution from these values.
Module selection: Choose the LED module type that matches your display. This determines the pixel arrangement and spacing.
Network settings: Configure the connection method (USB, Ethernet, or Wi-Fi) and ensure the computer, controller, and display are on the same network.
Luminance adjustment: Set the brightness level. Indoor displays typically require 800-1,500 nits, while outdoor displays need 5,000+ nits.
Step 4: Connect Your Controller
Connect the controller to your computer via USB or Ethernet, then use the software to detect and establish communication with the controller.
Connection process:
- Physical connection: Connect the controller to your computer using a USB or Ethernet cable
- Power on: Ensure the controller and display are powered on
- Software detection: In the software, click “Scan” or “Detect” to find the controller
- Login: Enter the controller login credentials if prompted (default credentials are usually provided)
- Verify connection: Confirm that the software recognizes the controller and display
For more on connection methods, see our LED display functions guide.
Step 5: Create Your Desired Content
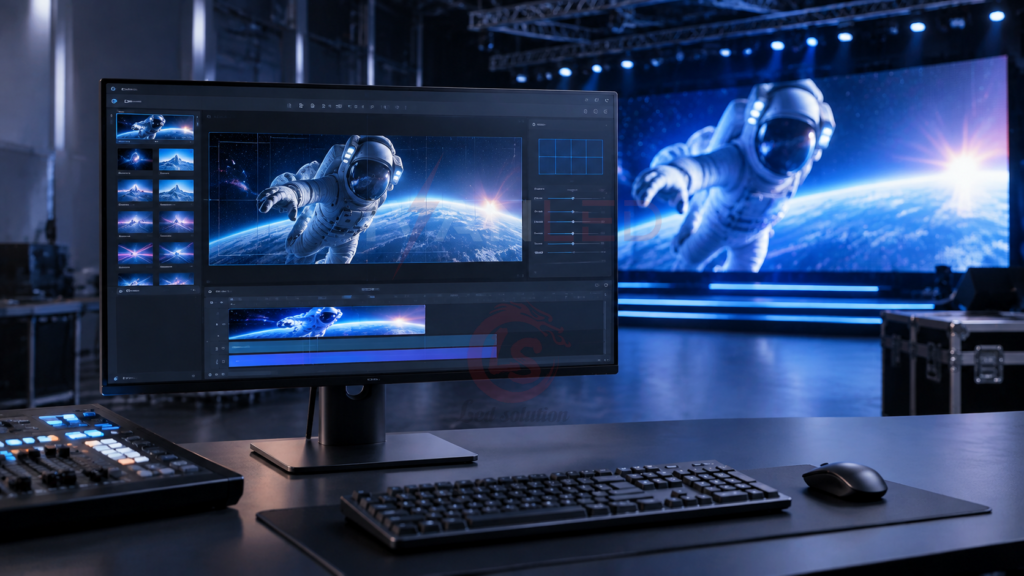
Create or import content that matches your display’s resolution and pixel pitch. Content must be designed specifically for your display’s dimensions to avoid distortion.
Content creation tips:
- Match dimensions: Create content at the exact resolution of your display
- Use compatible formats: Common formats include JPEG, PNG, MP4, and AVI
- Test on the software simulator: Preview content before sending to the display
- Create a template library: Save frequently used formats for quick reuse
- Consider viewing distance: Text and details should be legible at the intended viewing distance
Step 6: Send Your Content to the Display
Preview your content in the software simulator, then click “Send” or “Upload” to transmit it to the display controller. The content will appear on the screen within seconds.
Transmission process:
- Preview: Check content in the software simulator to verify formatting and transitions
- Adjust parameters: Fine-tune brightness, contrast, and playback settings
- Send: Click the send button to transmit content to the controller
- Verify: Confirm the content appears correctly on the display
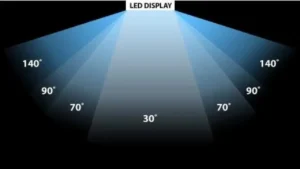
- Test viewing angles: Check the display from different positions to ensure visibility
Troubleshooting Common Programming Issues
Common issues include connection failures, content formatting errors, and controller detection problems. Most issues can be resolved by checking physical connections and software settings.
Common problems and solutions:
- Controller not detected: Check USB/Ethernet connection, restart software, or reinstall drivers
- Content looks blurry: Verify that content resolution matches the display’s pixel dimensions
- Display shows test pattern: Content may not have been sent successfully — repeat the send process
- No signal: Check power connections and ensure the controller is receiving input
- Partial screen display: Verify that the display dimensions are correctly configured in the software
Expert Tips for Integrators
Tip 1: Create a setup template.
Save your configuration settings as a template. This allows quick setup for future installations with similar displays.
Tip 2: Use official software sources.
Only download control software from the manufacturer’s official website. Third-party sources may contain malware or incompatible versions.
Tip 3: Test content in the simulator.
Always preview content in the software simulator before sending it to the display. This catches formatting issues before they appear on screen.
Tip 4: Maintain a content library.
Create templates for common resolutions and content types. This speeds up content creation for future projects.
Tip 5: Document your settings.
Record the configuration settings for each installation. This helps with troubleshooting and future updates.
Frequently Asked Questions (FAQ)
What software do I need to program an LED display?
The software depends on your controller brand. Common options include Nova LCT (for NovaStar), LedVision, and HD Player. Always use software that matches your specific controller model.
How do I connect my computer to the LED display?
Connect via a sending card (controller) using USB or Ethernet. The controller bridges the computer and the LED display. Once connected, the software detects the controller and display.
Why won’t my LED display show my content?
Common causes: incorrect content resolution, controller connection issues, or software configuration errors. Check that your content matches the display’s resolution and that the controller is properly connected.
Can I program multiple LED displays from one computer?
Yes. Most control software supports multiple controllers and displays. You can configure each display separately or synchronize them for a unified presentation.
Does IvanLED provide programming support for its displays?
Yes. IvanLED provides technical support and programming guidance for all our displays. We supply the necessary control software and can assist with setup, configuration, and troubleshooting.
Conclusion: Programming LED Displays Is Simpler Than You Think
Programming an LED display is a straightforward process that any trained technician can handle. The key is having the right software, a compatible controller, and a systematic approach to configuration.
Our straightforward advice:
– Choose control software that matches your controller brand and model.
– Always download software from official sources to avoid compatibility issues.
– Test content in the software simulator before sending it to the display.
– Create templates for common resolutions and content types to save time.
– Keep documentation of your settings for each installation.
At IvanLED, we provide complete LED display solutions including hardware, control software, and programming support. Our technical team can assist with setup, configuration, and troubleshooting to ensure your display performs as expected. Browse our LED display products or contact us for programming support.
Ready to get your LED display programmed?
👉 Contact IvanLED for technical support and programming guidance.