


Why do Black Spots Occur on Screens?
Dead or Broken Light
During LED manufacturing, the chip itself may contain defects, such as internal die cracks or poor internal bonding. These issues can cause the LED to fail when powered, resulting in a dark spot. In addition, LEDs that have aged or undergone severe lumen depreciation may also malfunction, appearing as dim areas or complete dark spots.
The Solder Joint is Poorly Welded
LED packages on the PCB may be insufficiently soldered. Mechanical vibration or extreme temperatures can cause the LED to detach, resulting in dark spots. Besides, poor contact in the data cables between modules may also lead to partial pixel outages.
The Driver IC is Damaged
If the driver chip in the LED display is damaged, or if the PCB circuit is poorly designed or processed, the current may not be able to pass through a certain area. As a result, the pixels corresponding to that part of the chip cannot work normally, forming black spots.
Software Issue
When opening some software on the screen, it may not directly cause the LED beads to be physically damaged into black spots, but if data transmission errors or calibration file loading errors occur, the screen may show phenomena that look like black spots.
Screen Impact
On one hand, dust or water entering the module will cause the LED beads to dim, short-circuit, or fail. On the other hand, strong light exposure or high temperature can cause uneven thermal expansion and contraction of the LED packaging material, leading to internal cracking and black spots. In addition, if the screen is subjected to external impact during installation or transportation, the module may also be damaged.
Method to Fix the Black Spots
STEP 1 Confirm the Type of the Black Spots
There are three types of black spots: black spots that cannot function normally, dim spots caused by reduced power, false black spots caused by software or driver failures, and situations where an entire row does not light up.
For the LED screen, you can test where the black spots are by playing a white screen or other solid-color screens on the display. For an LCD screen or an OLED screen, you also need to check for liquid crystal leakage and burn-in issues.
STEP 2 Investigate the Fundamental Factors
First, clean the screen to confirm whether the black spots are caused by dust blocking the surface, which may create the illusion of a screen malfunction.
Then, check whether the power supply and other connection cables are loose, and use a multimeter to check whether the voltage around the black spots is normal.
After that, check the external environment of the screen and the connecting cables to see whether they have been subjected to external pressure, and whether they are in a humid, overly sunny, or dusty environment.
STEP 3 Locate and Analyse the Black Spots
After confirming that there are no issues with the connecting cables, the voltage at the black spots, and the external environment, you need to locate the black spots accurately. You can use some testing software to identify the location of the black spots, such as AIDA64, Dead Pixel Test, NovaLCT, and others.
If the black spot flickers, it may be caused by a loose chip, an abnormal driver IC, or a damaged chip of one color. If the black spot shows ghosting or trailing, it may be due to a graphics card failure, and you can try using another computer or reinstalling the current computer to test whether the black spot is caused by the graphics card. If the black spot never lights up during testing, then the LED bead is likely damaged.
STEP 4 Repair Black Spots
When the Black Spot is Caused by a Graphics Card Failure
If you find that the screen returns to normal and the black spots disappear after reinstalling or replacing the graphics card, then there is no doubt that the black spots are caused by graphics card overload or faulty drivers. You can fix this by updating the drivers or replacing the graphics card, without needing professional repair.
When a Single LED Fails
When there is only a single-pixel black spot on the screen, it indicates that the LED pixel has malfunctioned. For high-precision LED screens with a 1mm pixel pitch (P1mm), black spots can affect the viewing experience and require the individual LED to be replaced. For outdoor large screens, since repairing individual LEDs may damage the waterproof layer and reduce the module’s overall sealing, replacing the entire module is the ideal solution.
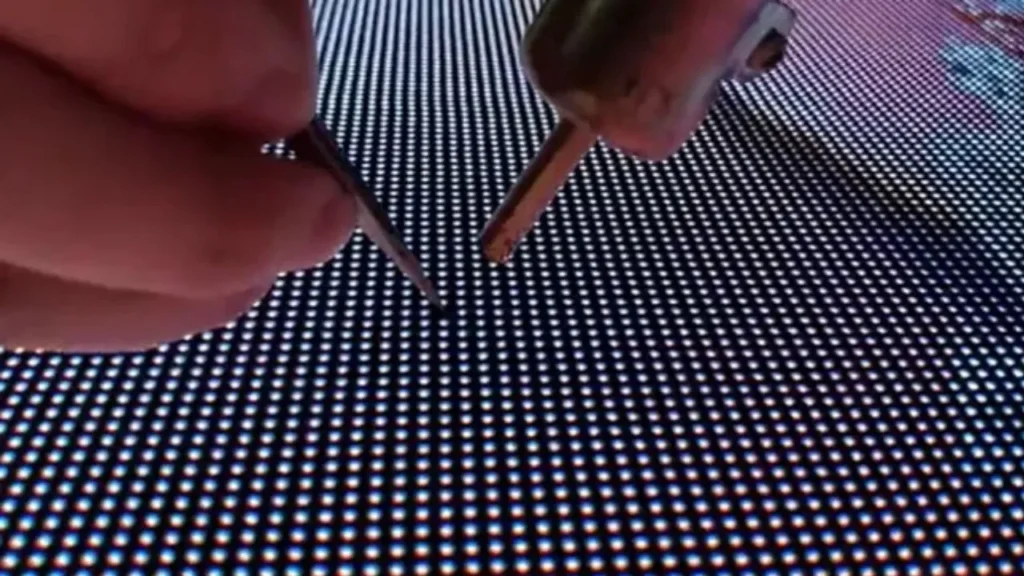
When replacing LEDs, first, you need to turn off the power and open the module at the back. Then, locate the position of the corresponding LED and use a soldering iron and desoldering pump to remove the faulty LED. Next, select a new LED with the same specifications as the original and solder it in place. Finally, power on the screen to test and confirm that the brightness and color are normal.
It should be noted that you need soldering experience to perform this operation by yourself, because the soldering temperature and time for LEDs must be strictly controlled; improper handling can damage surrounding pixels.
When an Entire LED Row Fails
When an entire row or column of LEDs does not light up during full-screen color tests, it is usually due to a failure of the driver IC inside the module. For modules with replaceable single-row ICs, the damaged IC can be removed, and a new IC of the same specification can be soldered in. However, if the screen is very large or multiple ICs have failed, it is wise for you to replace the entire module.
In addition, when replacing a driver IC, first use a hot air gun or soldering iron to heat and remove the IC, then solder a new one in the same orientation while maintaining an even temperature. When removing the faulty driver, be careful not to damage the surrounding solder joints.
Also, if you are not familiar with this process or do not have the proper tools, you’d better hire a professional repair team or seek after-sales or technical support from the supplier.
STEP 5 Test for any Residual Black Spots
After the repair is successful, you need to test the screen. Connect the power supply, and it is best to avoid high temperatures or direct sunlight interfering with the screen. Then perform a solid-color output test and observe whether the brightness is uniform and whether black spots appear again.
Then, you’d better record the exact locations of the black spots to prevent the same issue from occurring next time. Also, perform the test again at regular intervals.
Which Types of Screens are Most Prone to Black Spots?

Outdoor Advertising Screen
On one hand, outdoor advertising LED displays are particularly susceptible to weather conditions. Ultraviolet rays accelerate the aging of LED beads, and humid weather, rainy days, or snowy days may cause water to enter the modules, leading to solder joint oxidation or short circuits. On the other hand, prolonged high-brightness display will also accelerate the aging of LED chips.
Low-end Products without Strict Quality Control
Low-end screens with poor quality control are highly prone to failures. Screens without strict quality control may use low-grade LEDs and driver ICs, and their soldering workmanship is often substandard. Their functional testing and aging tests before shipment may also be inadequate. As a result, these products are highly prone to black-spot issues.
Monitoring Display Screen
Surveillance screens usually display static interfaces, such as monitoring footage or control panel dashboards. This can cause certain pixels to remain highly illuminated or show fixed content for extended periods, leading to localized overheating of LED chips or driver ICs, which accelerates aging and may eventually result in black spots.
Suggestions for Preventing Screen Failures
Consult a Professional Team
When your screen malfunctions and you find it difficult to repair, consulting a professional is necessary. Of course, it is best to choose a supplier who can provide after-sales service for several years at the time of purchase, so that they can offer technical support immediately when needed. Contact our professional team to get immediate assistance!
Avoid prolonged high-brightness operation
When operating at high brightness, the power and current of each LED chip increase. If heat dissipation is insufficient, the LED chips age faster. At the same time, the driver ICs and encapsulation materials also degrade more quickly, which can easily result in single or row-wise black spots.
To avoid this issue, it is important to maintain the screen brightness within a controlled range and to periodically change the displayed content, preventing any area from remaining fully illuminated for extended periods.
Purchase High-quality LED Beads and Driver ICs
High-quality LED chips generally use materials with strong thermal stability and uniform composition, making them resistant to damage even after prolonged high-brightness operation and giving them a longer lifespan. Good driver ICs have minimal current fluctuation and feature over-current protection (OCP) and over-temperature protection (OTP), which can reduce the risk of LED failure due to excessive current.
Moisture-proof and Water-proof During Use
Preventing moisture and dust from entering the display after installation can effectively reduce the risk of internal short circuits, PCB corrosion, and other module failures. For indoor installations, you may improve ventilation or use dehumidifiers. For outdoor installations, you can select an IP65-rated or a higher waterproof design, add desiccants inside the modules, and apply waterproofing measures to cable interfaces and power connections.
Regular Inspection and Maintenance
To ensure good performance, you need to check the screen at regular intervals. The items you need to check include:
- Play different images and check whether the screen has noticeable dim spots or black spots.
- Inspect the inside and outside of the module, including whether the sealing strips are aged, whether the power cables are loose, whether the PCB has burn marks, and whether there is moisture inside the module.
- Check the environment where the screen is located, especially for outdoor screens. You need to check whether the screen is exposed to long-term high temperatures, direct sunlight, or humid areas, and whether the ventilation is functioning properly.
FAQs
Will the black spot continue to expand after it appears?
Whether black spots on an LED display continue to expand depends on their underlying cause. For example, if the screen continues to operate under high-brightness, high-temperature, or overload conditions after black spots have formed, surrounding LEDs may still develop new black spots, giving the appearance that the existing spots are expanding.
Will black spots affect the lifespan of the entire screen?
If only individual LED chips or driver ICs are damaged, the appearance of black spots generally does not directly affect the overall lifespan of the screen. However, sometimes, damaged ICs or LEDs may cause abnormal current distribution or allow moisture to enter the module through the damaged LEDs, which can shorten the lifespan of the display.
How to quickly count black spots on a super-large screen?
Black spots are easiest to detect on solid-color backgrounds, especially on a white background. Displaying solid colors on the screen is the fastest way to identify and count black spots. In addition, some modules have a self-test function that can automatically scan and output a list of module numbers with pixel abnormalities.
Will the black spots reappear after being repaired?
Generally, if the black spot is caused by a damaged LED chip itself, the black spot will not appear again after the LED is replaced. If it is caused by other factors, the black spots will also likely not reappear after being thoroughly repaired. However, if the problem is not fundamentally resolved, for example, if the module has taken in water and has not been dried, or the driver IC’s power supply is still unstable, the black spots will reappear.
IvanLED: Strong After-sales Support
IvanLED is a professional LED display manufacturer with over ten years of experience. We have a factory of more than 1,200 square meters and have cooperated with over 100 countries. Besides, IvanLED also provides five-year after-sales service, installation services, and online training services to give you peace of mind. In addition, we will provide you with the necessary spare parts to handle unexpected failures.
If you have any questions, feel free to contact us at any time.


