









Have you ever wondered what makes one LED display last for 10+ years while another fails after a few months? The answer lies in the manufacturing process.
This guide takes you inside our factory to show exactly how LED displays are made – from raw LED chips to the final finished screen. You will see each production step and, more importantly, understand why each step matters for the performance and reliability of your screen.
Whether you are comparing suppliers or simply curious about the technology, this guide will help you make a more informed decision.

How Your LED Screen Is Built
When you buy an LED display, you see the final product – bright, seamless, ready to install. But behind that finished screen is a complex manufacturing process involving dozens of steps, strict quality controls, and thousands of individual components.
Understanding how LED displays are made helps you appreciate what makes one screen last 10+ years while another fails in months.
This guide walks you through the entire LED display manufacturing process – from raw materials to finished product – and explains why each step matters for your screen’s performance.
Part 1: Raw Material Preparation
What Happens
Every LED display starts with high-quality components:
| Component | Purpose |
| LED chips | The light source – determines brightness and color |
| Driver ICs | Controls each LED – affects refresh rate and stability |
| PCB boards | The circuit board – connects everything |
| Connectors and cables | Links modules together |
| Solder paste | Bonds components to the PCB |
Before assembly, all components undergo dehumidification – a process where parts are heated in a special oven to remove moisture. Trapped moisture can turn to steam during soldering, damaging the board.
Why This Matters for Your Screen
| Quality component | Result for you |
| Premium LED chips | Brighter, more accurate colors, longer life |
| Quality driver ICs | Stable image, no flicker, smooth video |
| Proper dehumidification | Fewer solder joint failures, higher reliability |
What this means for your purchase: Ask your supplier what brand of LED chips they use. Premium brands (Nationstar, Kinglight) cost more but deliver better color consistency and lifespan.
Part 2: Surface-Mount Technology (SMT)
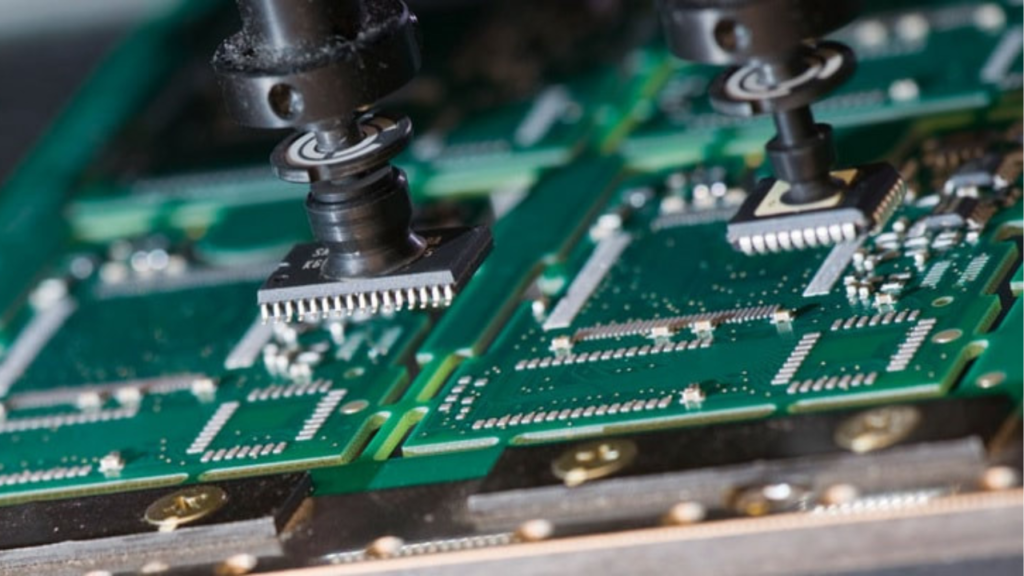
SMT is the core of LED display manufacturing. This is where components are mounted onto circuit boards.
Step 1: Solder Paste Application
What happens: A stencil printer applies solder paste onto the PCB at precise locations.
The detail: The paste is a mixture of tiny solder balls and flux. It is applied through a metal stencil that matches the circuit pattern. Modern machines control paste thickness to within microns.
Quality check: Automated Optical Inspection (AOI) verifies paste position, volume, and coverage.
Step 2: Component Placement
What happens: High-speed pick-and-place machines mount LED chips, driver ICs, and other components onto the PCB.
The detail: These machines place thousands of components per minute with sub-millimeter precision. Vision systems verify orientation and position for every part.
Quality check: Components that are misaligned or missing are flagged for correction.
Step 3: Reflow Soldering
What happens: The PCB passes through a reflow oven, where the solder paste melts and permanently bonds components to the board.
The detail: The oven has four zones – preheat, soak, reflow, and cooling. Temperature is carefully controlled to melt the solder completely without damaging sensitive components.
Quality check: After soldering, another AOI inspection checks for:
- Solder bridges (connections that should not exist)
- Cold joints (weak connections)
- Tombstoning (components lifted on one side)
Step 4: Initial Testing
What happens: Each assembled board is powered on for basic function checks.
The detail: Technicians run light-up tests, checking that every LED lights correctly. Faulty LEDs are marked for replacement.
Why This Matters for Your Screen
| SMT quality factor | Result for you |
| Precise solder paste | No short circuits or weak connections |
| Accurate component placement | Uniform brightness across the entire screen |
| Proper reflow soldering | Reliable connections that last for years |
| Early testing | Defects caught before final assembly |
What this means for your purchase: Factory with advanced SMT lines produce more reliable screens. Ask if your supplier has automated SMT and AOI inspection – it is a sign of quality.
Part 3: Encapsulation and Protection
LED components are sensitive to moisture, dust, and physical damage. Encapsulation protects them.
Step 1: AOB Encapsulation
What happens: A protective resin or epoxy is applied over the LED chips and circuit areas.
The detail: The encapsulant is transparent to allow light to pass through while providing mechanical support and insulation. It is applied carefully to avoid air bubbles or gaps.
Protection provided:
- Physical protection (shock and vibration)
- Dust prevention
- Moisture barrier
- Electrical insulation
Step 2: Conformal Coating
What happens: A thin polymer film is applied over the entire board as an extra protection layer.
The detail: Different coating types serve different environments:
| Coating type | Best for |
| Acrylic | General indoor use |
| Silicone | Outdoor, high heat, high humidity |
| Polyurethane | Chemical resistance, industrial environments |
Step 3: Waterproofing (For Outdoor Screens)
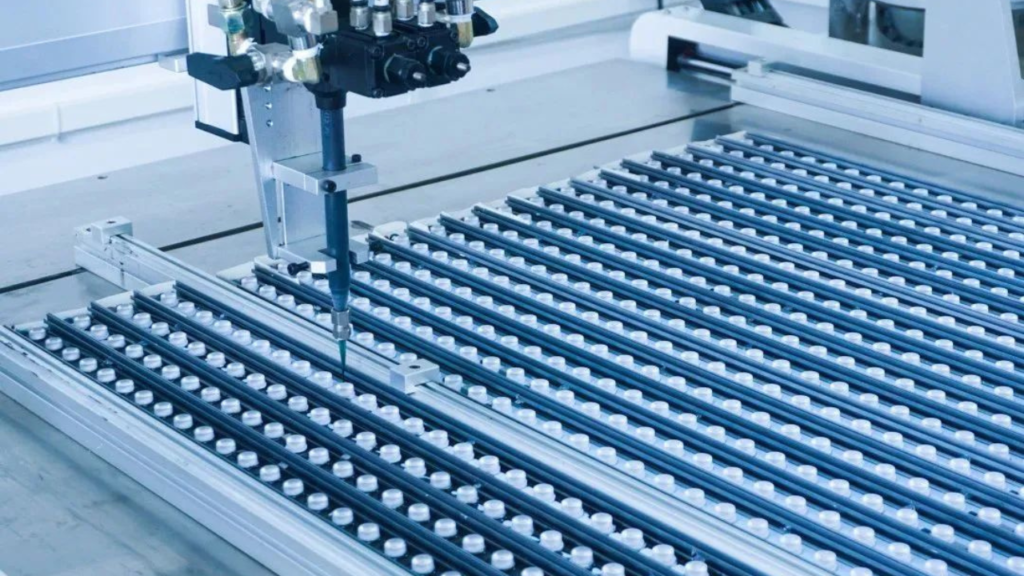
What happens: Seals, gaskets, and adhesives are applied to all joints, edges, and vulnerable areas.
The detail: Silicone gaskets and rubber seals fill gaps between modules and cabinet components, creating a tight enclosure that prevents water ingress.
IP rating explained:
| IP rating | Protection level |
| IP20 | Indoor only – no water protection |
| IP54 | Splash resistant – light rain |
| IP65 | Water resistant – heavy rain and jets |
| IP66 | Waterproof – submersion resistant |
Why This Matters for Your Screen
| Protection feature | Result for you |
| AOB encapsulation | Longer LED life, consistent brightness |
| Conformal coating | Protection from humidity and corrosion |
| IP65/IP66 waterproofing | Outdoor screens survive rain and weather |
What this means for your purchase: For outdoor screens, insist on IP65 minimum. For coastal or high-humidity areas, ask about additional conformal coating.
Part 4: Module Assembly
What happens: Individual PCBs are assembled into complete LED modules.
The process:
- Back shell installation: A plastic back shell is attached to protect the rear of the module
- Mask installation: A front mask (also called face cover) is placed over the LEDs. The mask has holes aligned with each LED, defining the pixel shape and providing anti-glare properties
- Fastening: Screws, clips, or magnetic locks secure all parts together
Alignment is critical. Misaligned masks can block LEDs or create uneven appearance.
Aging Test (First Round)
What happens: Completed modules are powered on for extended periods – typically 24-72 hours – at high brightness and elevated temperatures.
Purpose: This stress test reveals hidden defects:
- LEDs that fail after warming up
- Solder joints that crack under thermal stress
- Driver ICs that malfunction under load
What is checked:
- Dead or dim pixels
- Color consistency across the module
- Stable brightness over time
- No flickering
Why This Matters for Your Screen
| Module assembly quality | Result for you |
| Precise mask alignment | Sharp, clear pixels – no blurring |
| Secure fastening | Modules stay connected over time |
| 72-hour aging test | Fewer field failures – reliable operation |
What this means for your purchase: Reputable manufacturers run aging tests on every module. Ask about their testing process. A supplier that skips aging is selling risk.
Part 5: Cabinet Assembly
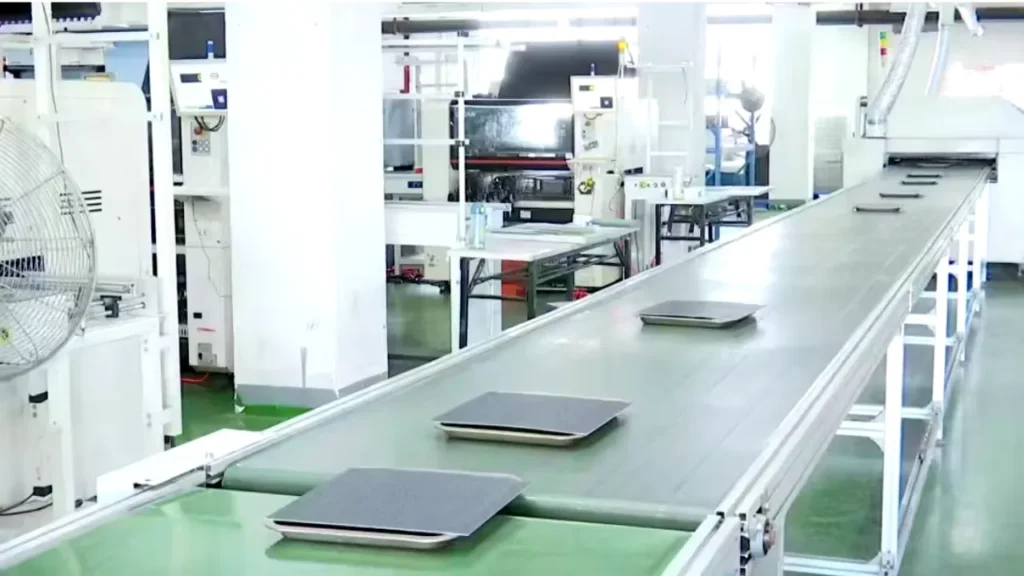
Modules are assembled into larger cabinets (also called panels or cases) that form the complete display.
What Happens
- Frame assembly: A metal cabinet frame is prepared
- Module mounting: Modules are attached to the frame using screws or magnetic locks
- Internal components installed: Power supplies, receiving cards, fans, and cables are connected
- Interconnection: Signal and power cables link all modules together
Aging Test (Second Round)
What happens: The fully assembled cabinet undergoes another round of aging tests – this time with all components working together.
What is tested:
- Power distribution (stable voltage to all modules)
- Heat dissipation (fans and cooling working properly)
- Signal integrity (no data loss across long chains)
- Full system operation (as it would run in real life)
Why This Matters for Your Screen
| Cabinet assembly quality | Result for you |
| Robust frame | Screen stays aligned – no warping over time |
| Proper cable management | Reliable signal – easy troubleshooting |
| Second aging test | Whole-system reliability – not just modules |
What this means for your purchase: Aging tests at both module and cabinet level is the industry best practice. Suppliers who skip the cabinet aging test are cutting corners.
Part 6: Calibration and Quality Control

Color and Brightness Calibration
What happens: Each LED chip has slight natural variations in brightness and color. Calibration corrects these variations so every pixel looks identical.
The process:
- The screen is powered on and displays test patterns
- High-precision cameras and sensors measure light output from every LED
- Software calculates correction values for each individual LED
- Correction data is uploaded to the receiving cards
The result: A perfectly uniform image – no bright or dark spots, no color patches.
Environmental Testing
What happens: Sample cabinets are subjected to extreme conditions to verify durability.
| Test | Condition | Purpose |
| High temperature | 50-60°C | Ensure operation in hot climates |
| Low temperature | -10 to -20°C | Ensure operation in cold climates |
| Humidity | 90%+ RH | Test moisture resistance |
| Vibration | Simulated transport | Ensure components stay connected |
| Salt spray (coastal) | Salt atmosphere | Test corrosion resistance |
Why This Matters for Your Screen
| Calibration and testing | Result for you |
| Individual LED calibration | Perfectly uniform image – no patches |
| High-temp testing | Reliable operation in hot weather |
| Vibration testing | Survives shipping and installation |
| Salt spray testing | Suitable for coastal installations |
What this means for your purchase: Calibration is what separates professional screens from cheap displays. Ask if your supplier performs individual LED calibration – it is essential for fine-pitch and video wall applications.
Part 7: Final Inspection
Before any screen is packed for shipping, it undergoes a final comprehensive inspection.
What Is Checked
| Inspection item | What they look for |
| Visual inspection | Scratches, dents, discoloration, dust between mask and LEDs |
| Dead pixel check | Any LED that does not light |
| Color uniformity | Consistent color across entire screen |
| Brightness uniformity | No dark or overly bright areas |
| Seam alignment | Modules fit together without gaps |
| Mechanical check | All screws tight, cables secure |
| Function test | Video, text, images display correctly |
| Accessories | Cables, controllers, spare parts included |
Final Pass
If the screen passes all inspections, it receives a final quality certification and is ready for packing.
Why This Matters for Your Screen
| Final inspection | Result for you |
| Complete function test | Screen works correctly out of the box |
| Mechanical check | No loose screws or connections during shipping |
| Quality certification | Documentation of testing for your records |
What this means for your purchase: A supplier that performs thorough final inspection ships screens that work immediately. A supplier that skips inspection ships problems.
Summary: The Manufacturing Process at a Glance
| Step | What happens | Why it matters for you |
| Raw material prep | Quality components, dehumidification | Longer life, fewer failures |
| SMT | Solder paste, component placement, reflow | Reliable connections, uniform brightness |
| Encapsulation | Resin coating, waterproofing | Protection from moisture and dust |
| Module assembly | Mask installation, first aging test | Sharp pixels, pre-screened modules |
| Cabinet assembly | Frame assembly, second aging test | Whole-system reliability |
| Calibration | Individual LED calibration | Perfectly uniform image |
| Final inspection | Complete function and quality check | Screen works immediately |
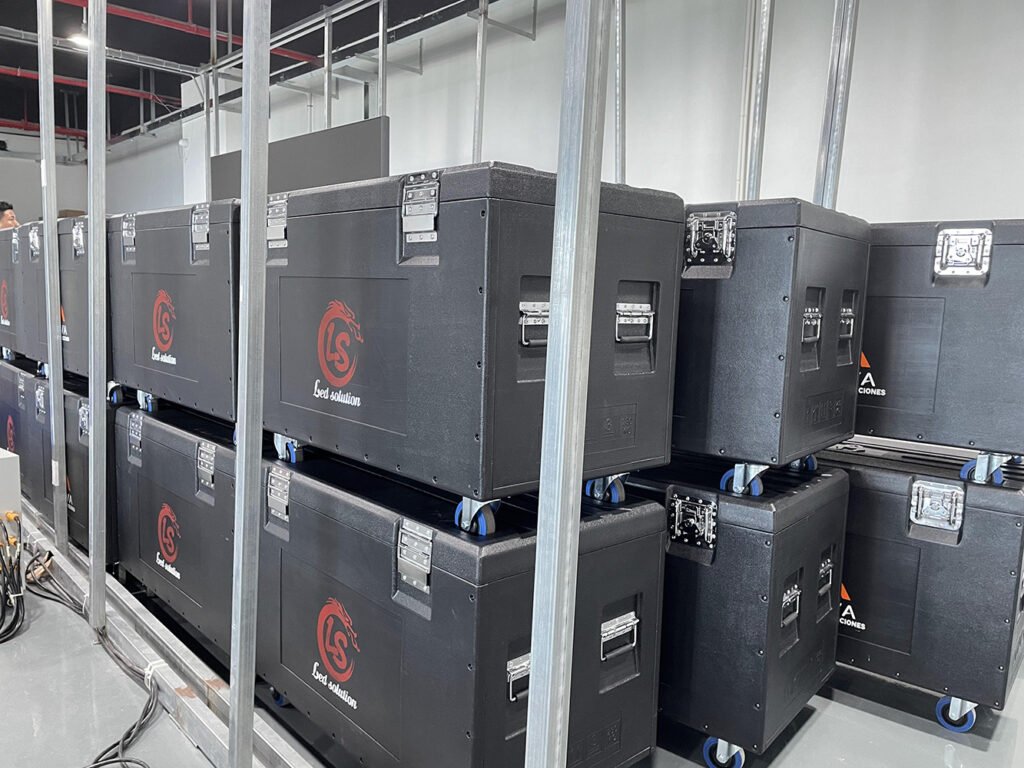
Our Manufacturing Process
At IvanLED, we follow the complete process described above:
- Premium components: Nationstar/Kinglight LEDs, Novastar control systems
- Automated SMT lines: High-precision placement, AOI inspection at every stage
- Full encapsulation: AOB protection, conformal coating, IP65 waterproofing
- 72-hour aging tests: At both module and cabinet level
- Individual calibration: Every LED corrected for uniform brightness and color
- 100% final inspection: Every screen tested before shipping
- 1-year warranty: Backed by our quality guarantee
Interested in seeing our factory or getting a sample? Contact us to arrange a virtual tour or request a sample module.
Frequently Asked Questions
Q: How long does the LED display manufacturing process take?
Typical production time is 15-30 business days depending on screen size and complexity. This includes SMT assembly, module assembly, aging tests, and calibration. Rush orders may be possible but quality testing should not be skipped.
Q: What is the most critical step in manufacturing?
All steps are important, but the aging test is where hidden defects are caught. A 48-72 hour aging test at elevated temperatures can reveal failures that would otherwise appear after installation.
Q: How do I know if a manufacturer has good quality control?
Ask specific questions: Do you perform AOI inspection after SMT? Do you run aging tests on every module? Do you calibrate every LED individually? A quality manufacturer will answer yes to all.
Q: What is the difference between IP65 and IP66 for outdoor screens?
IP65 protects against low-pressure water jets (rain, washing). IP66 protects against high-pressure water jets (heavy storms, direct hose spray). For most outdoor billboards, IP65 is sufficient. For coastal or storm-prone areas, IP66 is better.
Q: Why do some screens have color inconsistencies?
Color inconsistencies occur when manufacturers skip individual LED calibration. Cheap screens often use batch calibration or no calibration at all. Professional manufacturers calibrate every LED individually for perfect uniformity.
Q: Does IvanLED offer factory tours?
Yes. We welcome customers to visit our factory. For remote customers, we can arrange virtual tours via video call. Contact us to schedule a visit.